Colours and materials
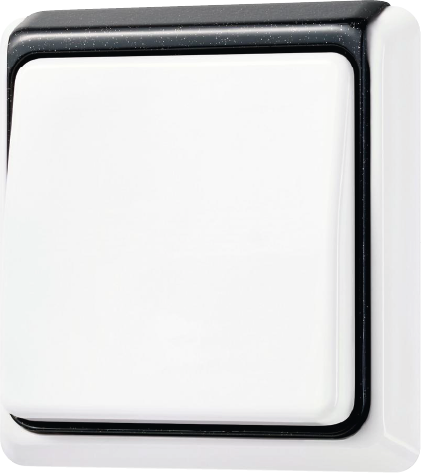
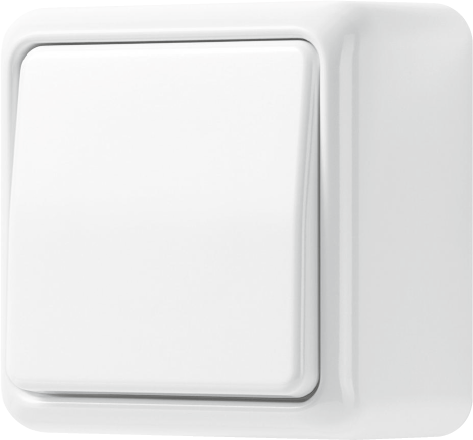
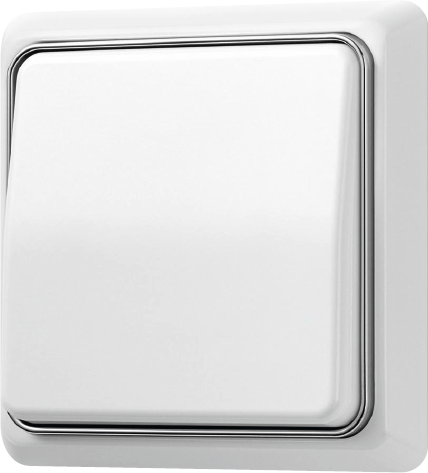
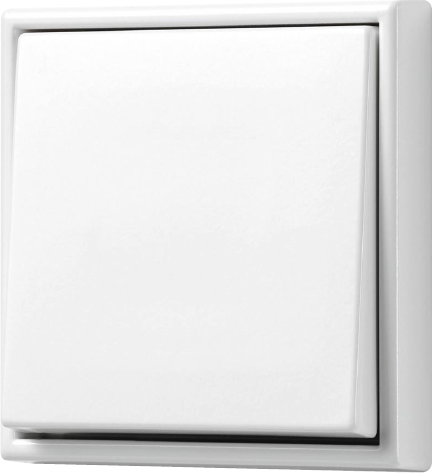
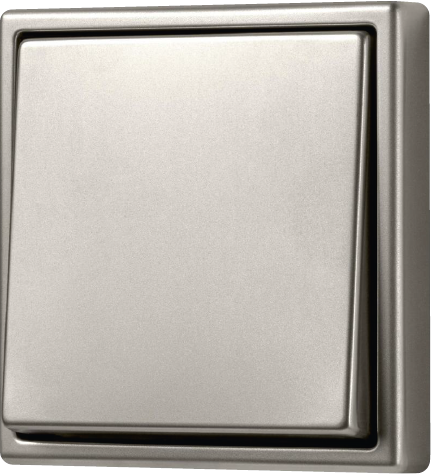
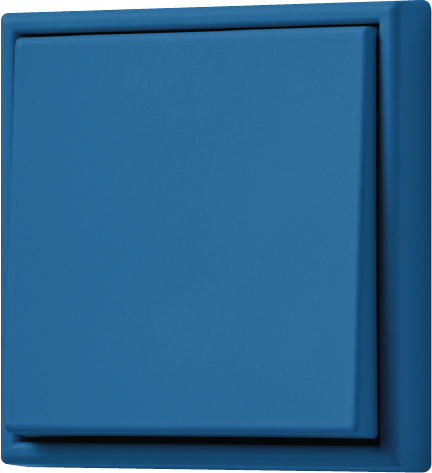
Free combination possibilities with the frames and covers from the JUNG design ranges A. AS, CD and LS provide an appearance that is always stylish and tasteful. Examples of devices from the different ranges can be seen below. With a click on the link next to the graphic you can get further information on the respective product.
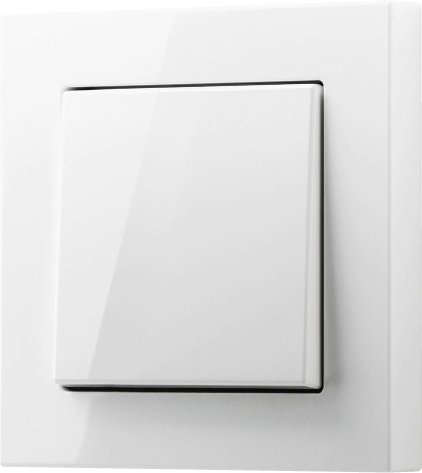
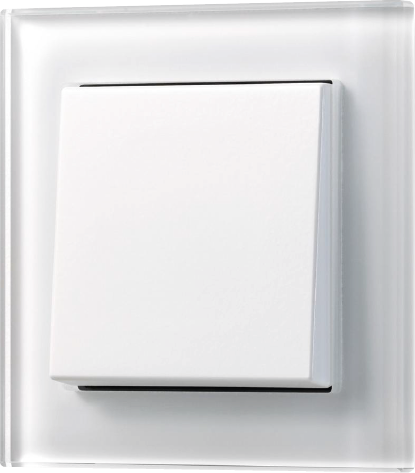
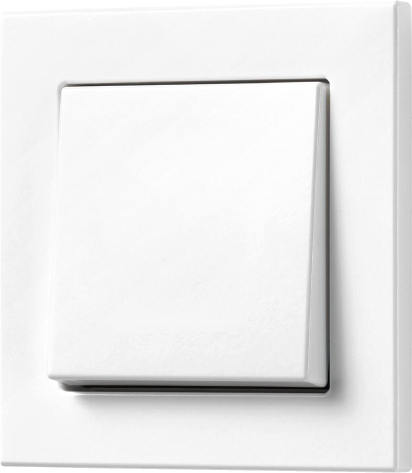
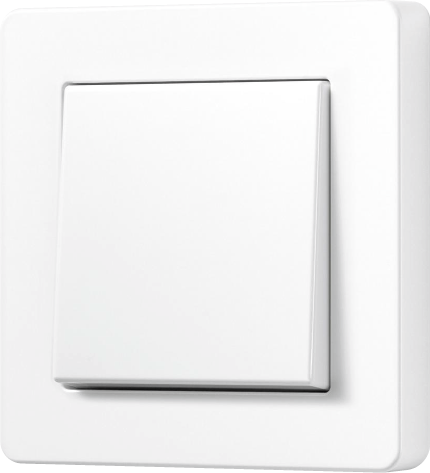
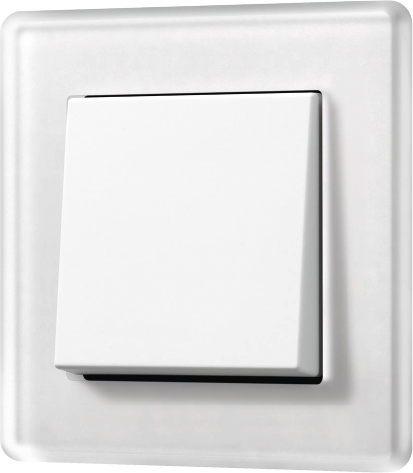
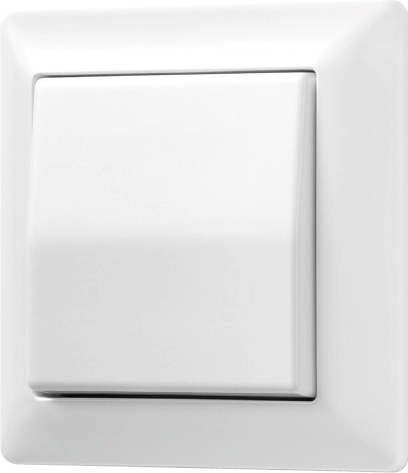
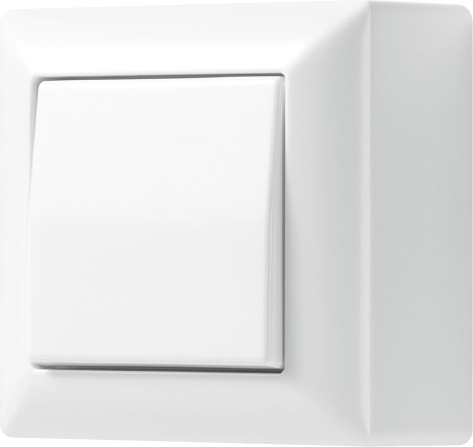
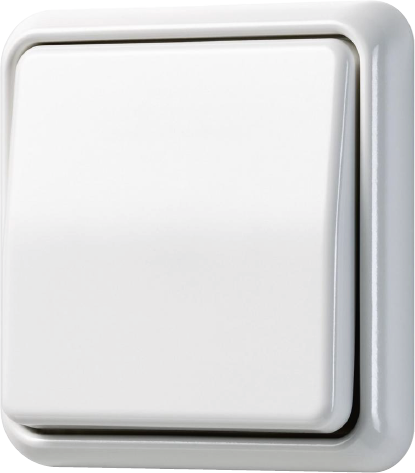
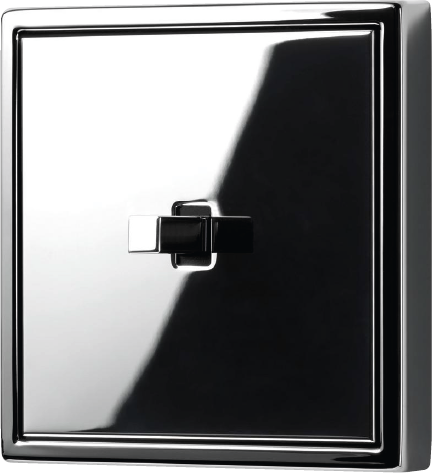
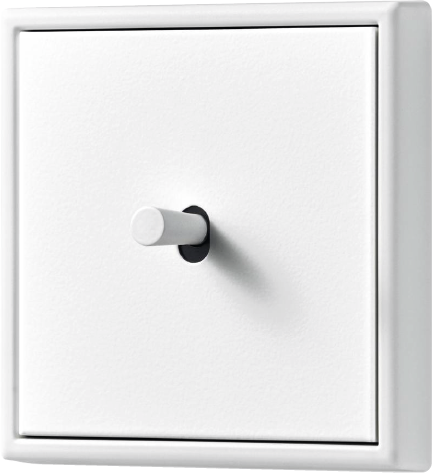
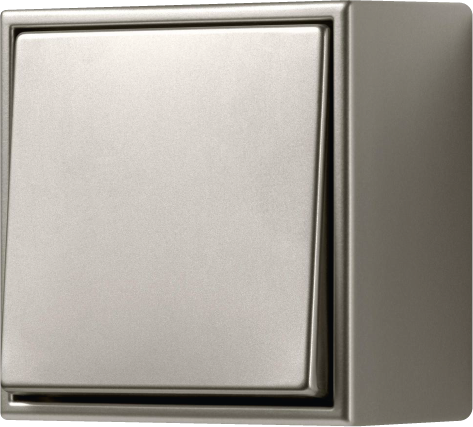
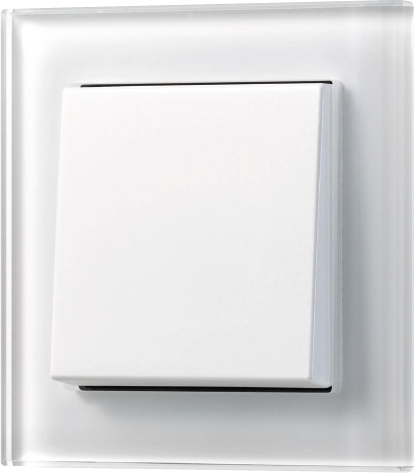
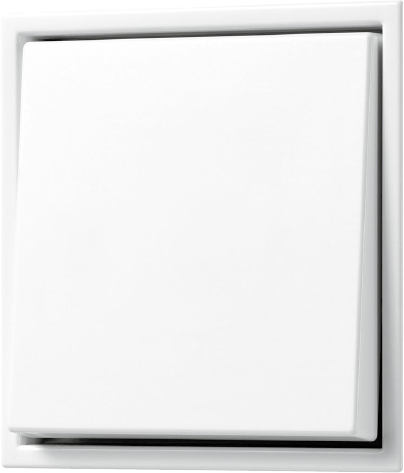
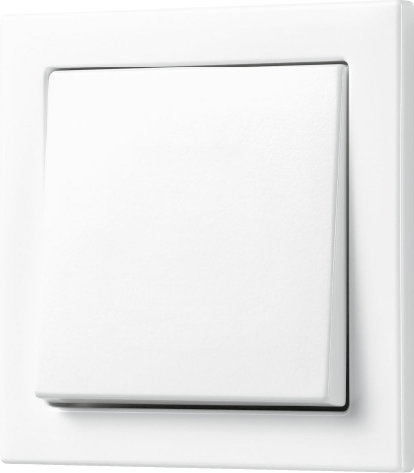
LS 1912 – the aesthetics of switching
Purist design and innovative strength have been combined at JUNG since 1912. With the LS 1912 toggle switch, we draw on this tradition and implement it in a contemporary form. The material and mechanics lend the LS 1912 switch a very particular charm. The toggle levers in aluminium, stainless steel, brass or chrome make it possible to relive the mechanics of switching. They are available as cylinders, cones or cubes.
Find out more about 1912 here:
LS 1912 switch range | JUNG online catalogue
LS 1912 toggle switch - charm from material and mechanics
LS ZERO
Flowing, even transitions between surfaces and architectural elements are coming more and more to the fore in modern, puristic interior design. With the development of the LS ZERO design range based on the LS 990 switch range, JUNG has achieved the goal of frames and switches are literally immersed in the wall.
In order to ensure a flush transition from frame to wall, JUNG has developed a plastering frame. The material combination of ceramic and plastic provides all the connective properties so that the frame device covers integrate almost completely into the wall. Mounting is possible in brickwork, drywalls and furniture.
For more information on the LS Zero design range, see here.

- Clearance for a wall box, e.g. using a drill bit. Ensure that the wall box is plastered in flush with the wall (the plaster layer otherwise has to be applied more thickly around the projecting material).
- Centre wall box on the wall.
- Align plastering aid centrally using markings over the wall box and tack on the wall.
- Apply plaster in the usual way and depending on requirements. In doing so, the plastering aid specifies the plaster thickness.
- After drying, remove the plastering aid and clean the space.
- Now coat the plastering frame on the reverse side with plaster and insert into the space that has been created. Ensure in the process that the cutouts and screw holes in the plastering frame match those in the wall box. Now orientate the plastering frame place it flush with the plastered wall.
- After drying, the remaining intermediate space is filled with plaster and excess plaster is removed. The plastering frame is now flush with the wall.
- After rubbing down the surface, the plastering frame is embedded seamlessly in the plaster and becomes visually part of the wall. The inner edges of the plastering frame form the finished connection to the LS ZERO design frames.
- The electrical installation and the installation of the design covers are performed as usual.
- Position and process the dry wall board in the usual way. A double board layer is required.
- Clearance for a wall box, e.g. using a drill bit.
- Centre wall box on the wall.
- Align plastering aid centrally over the wall box using markings and mark all round to mark the size of the clearance.
- Now cut around the marked area with a cutter and a bar and remove the first board layer.
- Fasten wall box on the board layer below as usual.
- Orientate the plastering frame in the space and fix to the box with the box screws.
- Now fill the remaining intermediate space with filler and remove excess filler. The plastering frame is flush with the wall.
- After rubbing down the surface, the plastering frame is embedded seamlessly in the drywall. The inner edges of the plastering frame form the finished connection to the LS ZERO design frames.
- The electrical installation and the installation of the design covers are performed as usual.
For integrating in furniture, the contour of the plastering frame is embedded into the respective part with the help of a moulding cutter. The plastering frame is not necessary in this case. All required drawing data are available for download at jung.de/lszero. The mounting afterwards is performed as standard; in doing so, the LS ZERO design frame lies directly in the space and forms a flush transition to the furniture.
Alternatively to flush mounting (0 mm height above surface), LS ZERO is also available in a version with 3 mm height above surface. With walls with wallpaper, the design frame minimally overlaps the wallpaper edge. Both versions are also suitable for plasterboard with a thickness of 12.5 mm.