Installation and settings
Installation as a wall-mounted device
- Attach two screws horizontally at a distance of 60 mm on the mounting location.
When deciding where to mount the device and when drilling holes, make sure that switches, sockets, gas and water pipes in the vicinity are not damaged. Screws and dowels for wall mounting are not included in delivery. - Slide the opening of the JUNG HOME gateway onto the screws from above.
- Press the release on the underside of the JUNG HOME gateway and take the cover off.
- Insert the network cable supplied into the network socket and in the LAN socket of the router.
For the commissioning, it is necessary for the router to assign its network address automatically. - Insert the USB plug of the power supply into the connection port and connect the power supply to the mains.
The network connection is carried out automatically. If the status network LED is continuously lit, the device is connected.
Mounting on a DIN rail
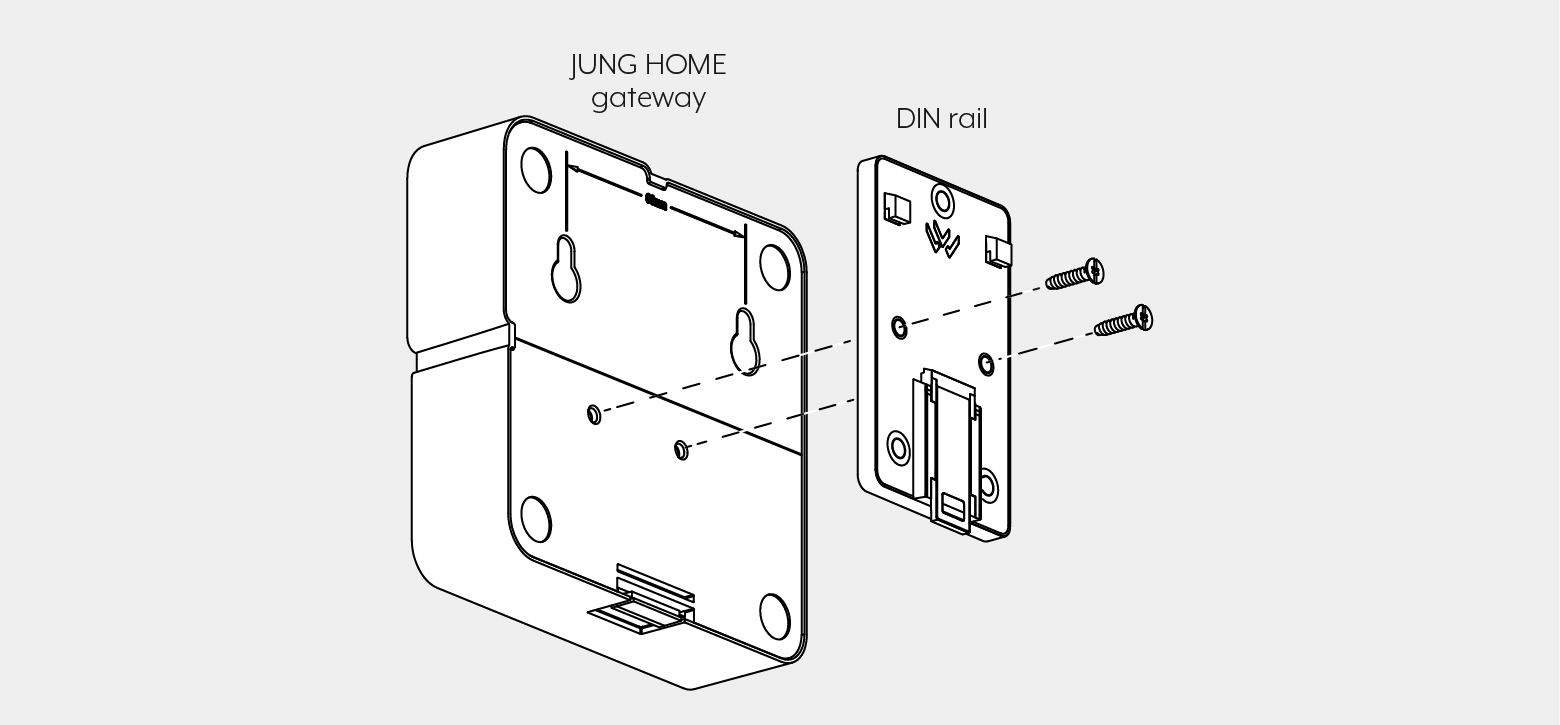
- Screw in the adapter using the screws supplied.
- Latch the mounting adapter onto the DIN rail with the JUNG HOME gateway.
- Press the release on the underside of the JUNG HOME gateway and take the cover off.
- Insert the network cable supplied into the network socket and the LAN socket of the router.
For the commissioning, it is necessary for the router to automatically assign its network addresses. Adapt the router settings if necessary. - Insert the USB plug of the power supply into the connection port and connect the power supply to the mains.
The network connection is carried out automatically. If the status network LED is continuously lit, the device is connected.
Commissioning
For how to commission the JUNG HOME gateway via the JUNG HOME app, see the chapters "Pair device" and "Configure the JUNG HOME gateway".